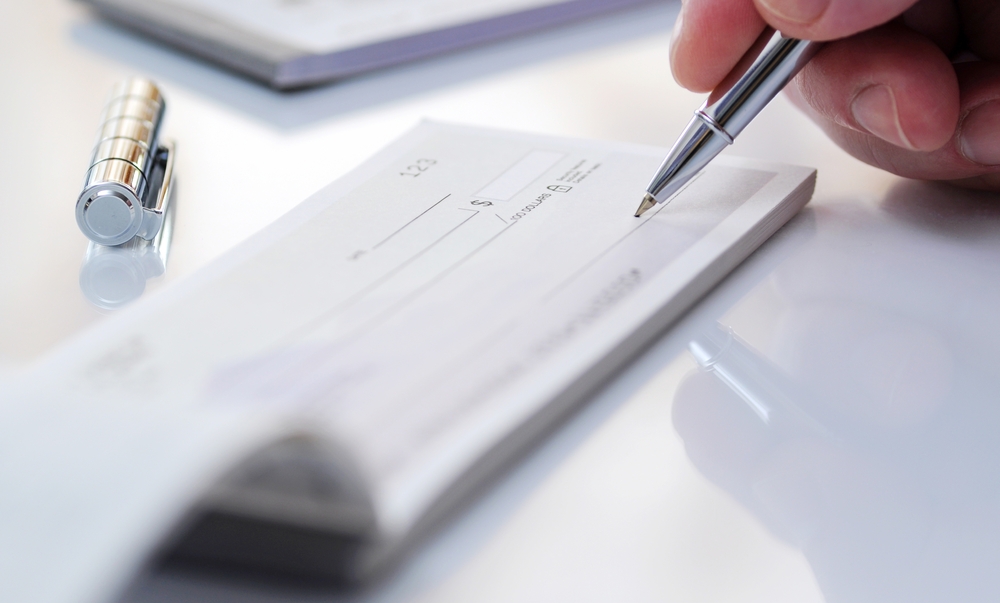
Step By Step Guide to Fill Out a Check

Checks aren’t obsolete yet despite electronic transfers’ growing popularity. They remain an integral part of daily banking life, whether sending payments, receiving a paycheck, or sending a gift. Writing checks happens almost automatically, but the process can be confusing if you’re not used to it.
This guide offers a step-by-step process of how to write a check.
Three Sections to Know
Before learning how to write a check, you must understand the critical sections. Every check has these three important sections with crucial numbers.
- Bank Routing Number
The number on the bottom left section of your check is the bank’s identification number, also known as the routing number, which generally has nine digits. Be sure to locate this number, especially when carrying out online transactions.
- Account Number
Your checking account number comes after the routing number.
- The Check Number
This is a unique code assigned to each paper check and appears after the account number and at the upper right corner of the check.
- How to Write a Check
Writing a check is straightforward, provided you adhere to the following guidelines.
Step 1: Indicate the Current Date
Every check paper has a designated section in the top right corner where you write the current date. It’s up to you to decide whether to write today’s date or a future date, depending on the time you sign the check. The correct date will help the recipient know when you wrote the check. An example of date input is “Sept 1, 2022” or “1/9/2022.”
Step 2: Write the Recipient’s Name
The next step is to indicate the recipient’s name on the line labeled “Pay to the Order of.” The name can be an entity, school, a trust, or any business with a bank account to deposit funds. Ensure you input the recipient’s name correctly; otherwise, the check may bounce.
Step 3: Write Cents on A Check
Now that you have the date and the recipient’s name on the check, write the amount in numerical form on the right side. Write the full amount while placing the figure as close to the left-hand border as possible so that no additional digit can fit in the space. Leaving a space enables fraudsters to change numbers like 100.56 to 3,100.56.
Step 4: Indicate Check Amount in Words
The simplest way to enter the check amount in words is to refer to the numerical value and spell it out. You have two options to decide how to write a check and show cents in words. If you have $3,100.56, you can write “three thousand and a hundred dollars and 56 cents” or “three thousand and a hundred and 56/100 dollars.”
Step 5: Memo
Filling in the memo section isn’t necessary, but you can add notes to track the payment. Alternatively, when paying vendors, utilities, or taxes, you may use the section to indicate your Social Security number or account number.
Step 6: Signature
Your signature validates the check showing that you agree to pay the recipient the indicated amount. The signature line is found at the bottom right corner of your check. Paper checks are still in use, and you need to know how to write one correctly to save time and money. The tips provided here will help you understand the various sections in a check and the safety measures for successful payment.
Disclosure: This post may contain affiliate links, meaning we get a commission if you decide to make a purchase through my links, at no cost to you. For more information, see our disclosure here.
Take Control Of Your Finances
Get advice on making, saving and managing your money sent directly to your inbox daily.
